liebherr-measuring-key-visual-stage

The Liebherr range of gear measuring devices

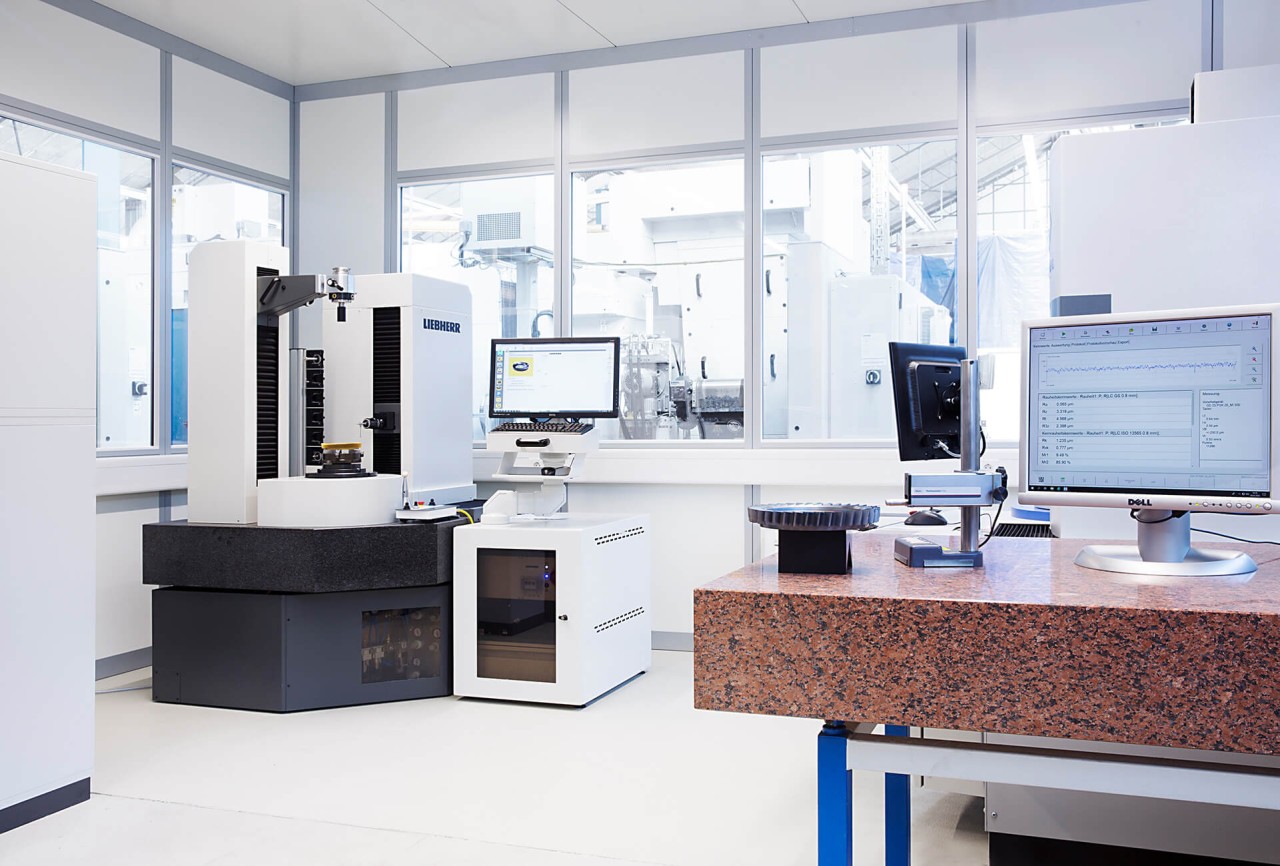
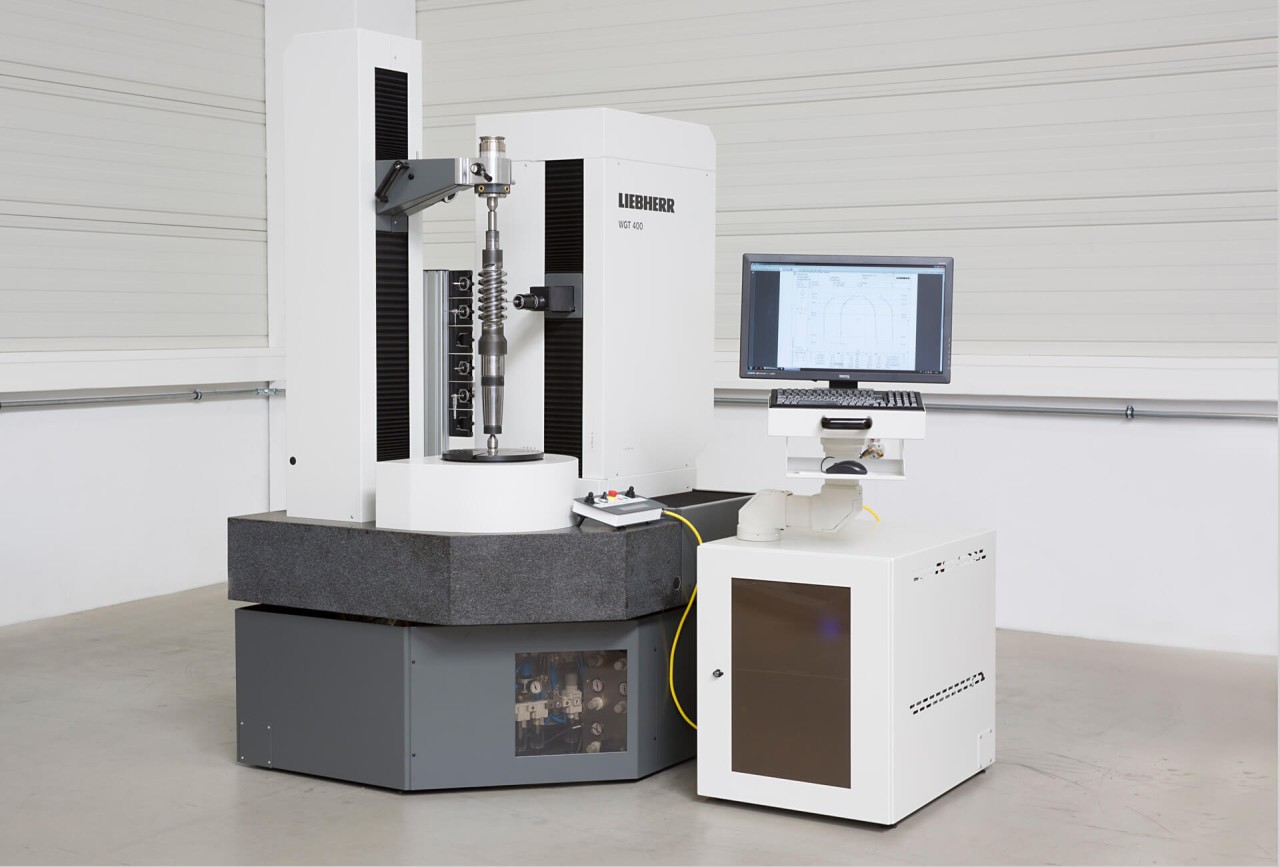
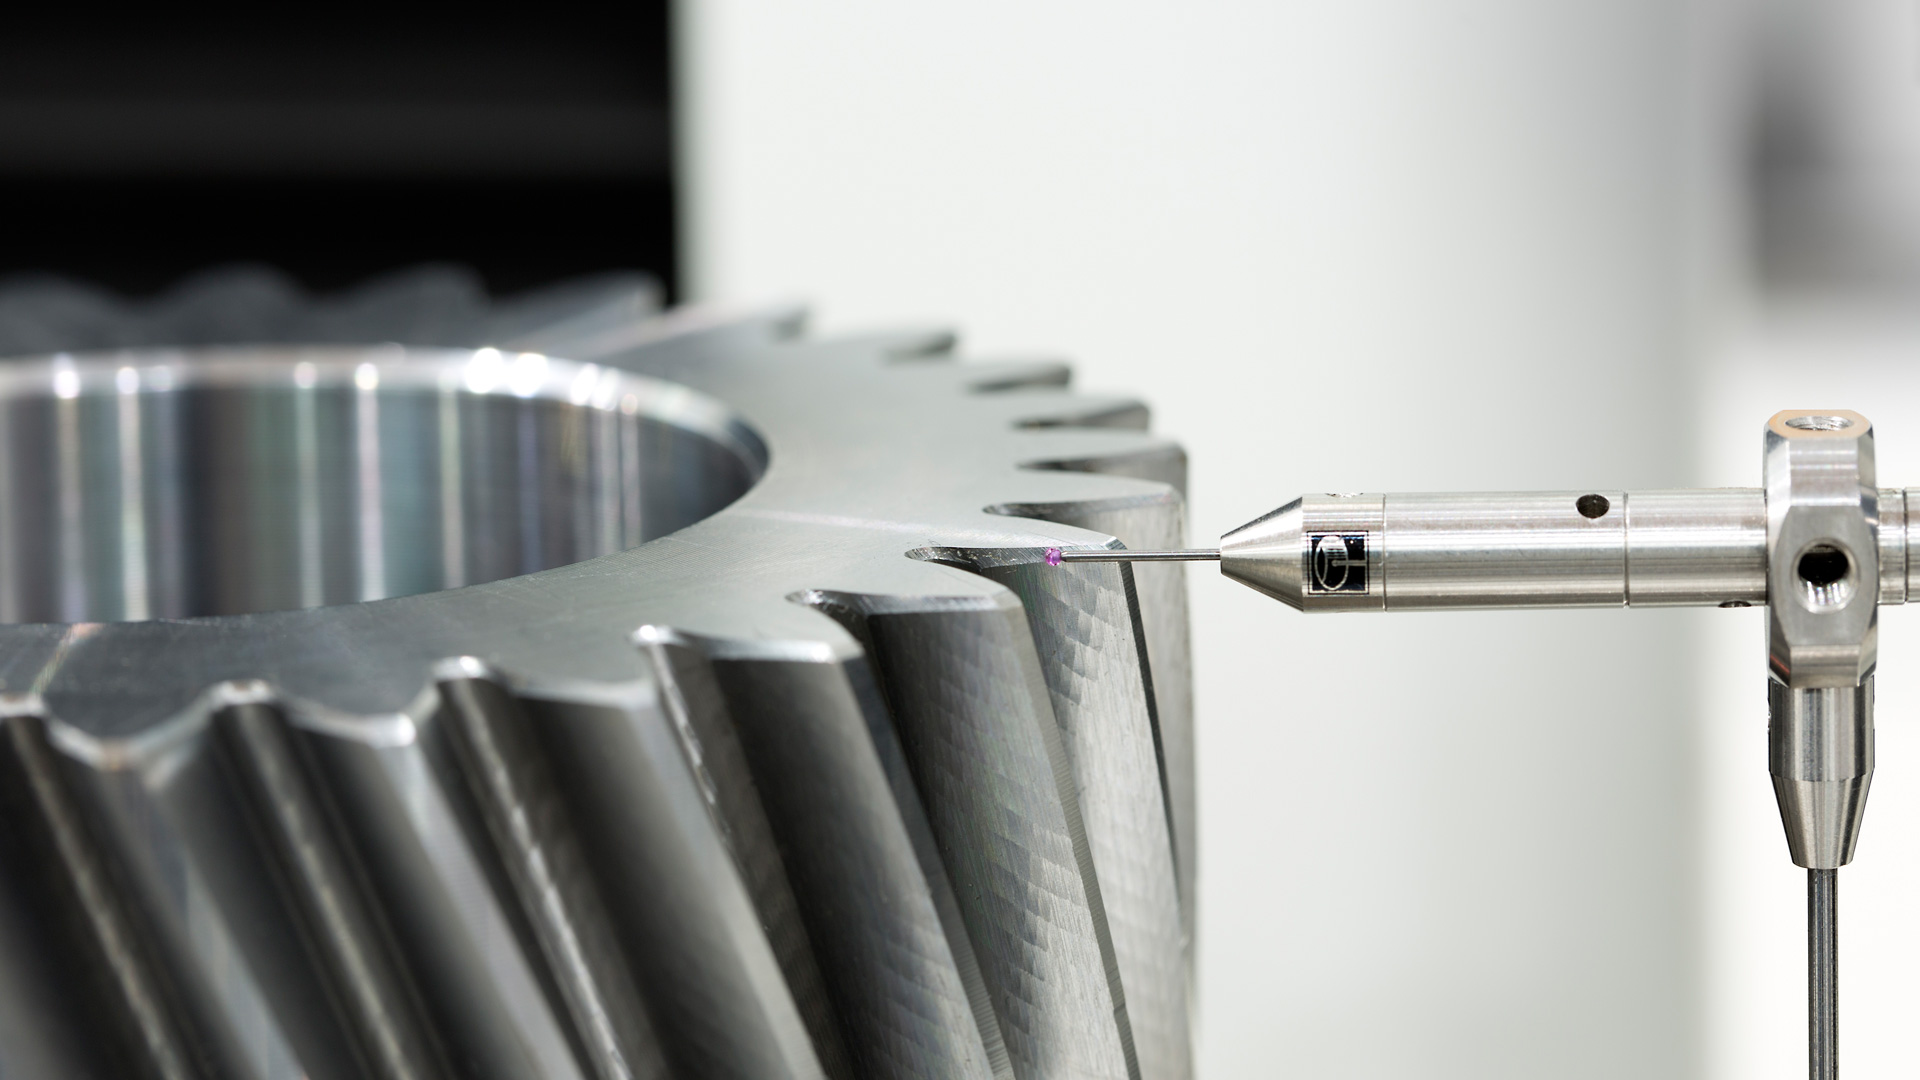
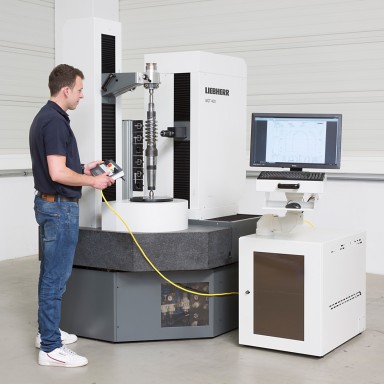
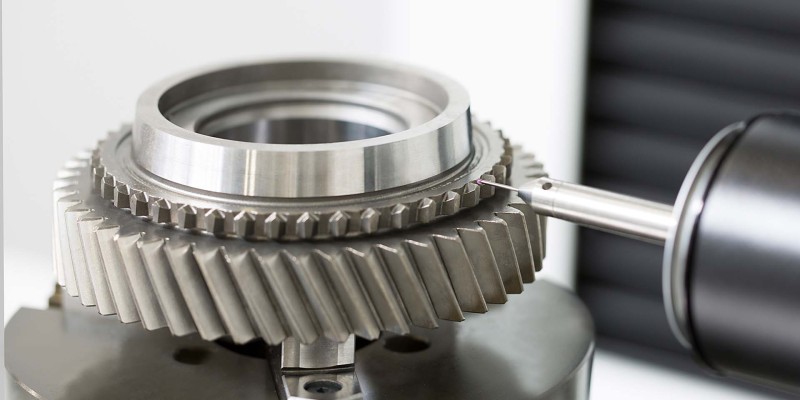
Liebherr offers a wide range of gear measuring devices. The combination of high-precision measuring mechanics and the specially developed gear measuring software guarantees precise measuring results.

Metrology

The Liebherr gear measuring devices are focused on ergonomics and usability, precision, robustness, durability and serviceability. The measuring machines and the corresponding software are used in various sectors, such as automotive, aerospace, and general mechanical engineering.

liebherr-metrology-slider1

Products

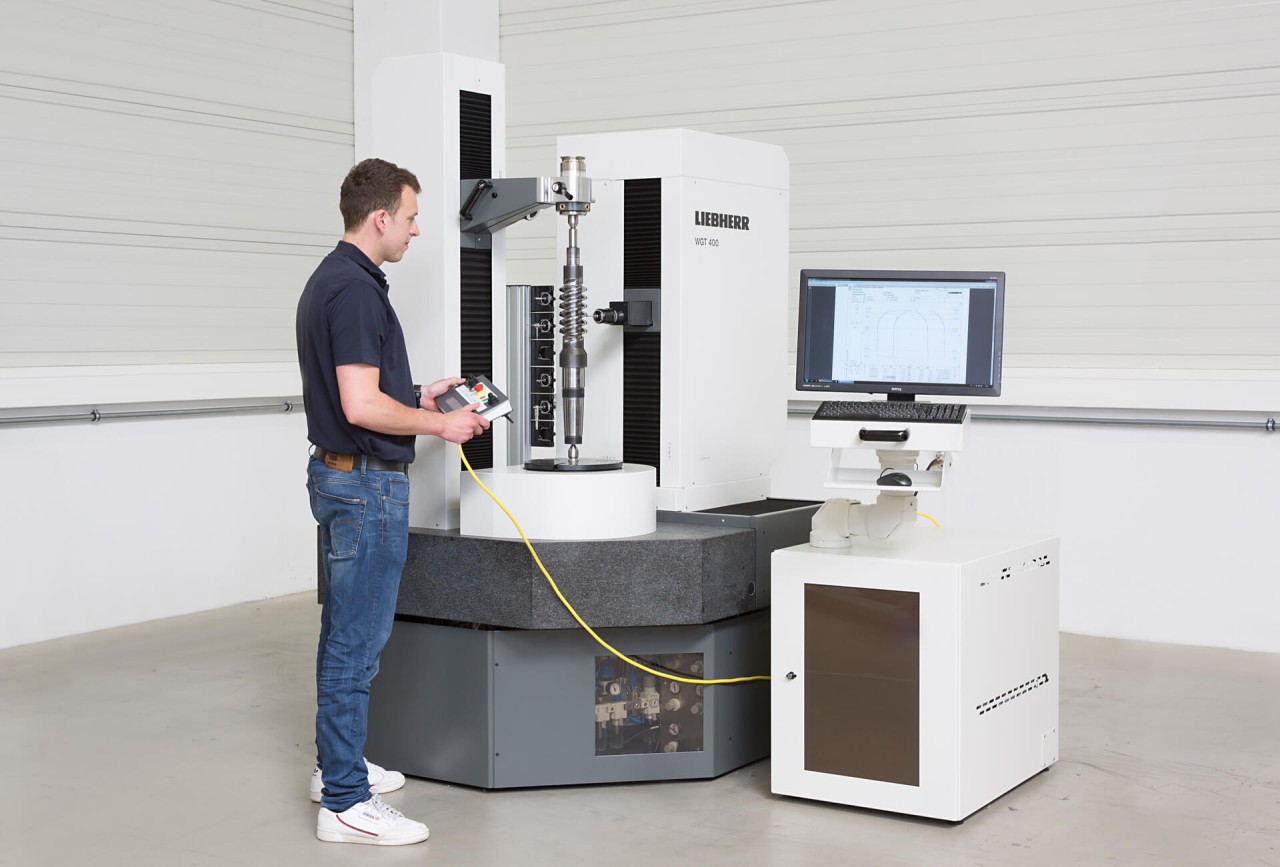
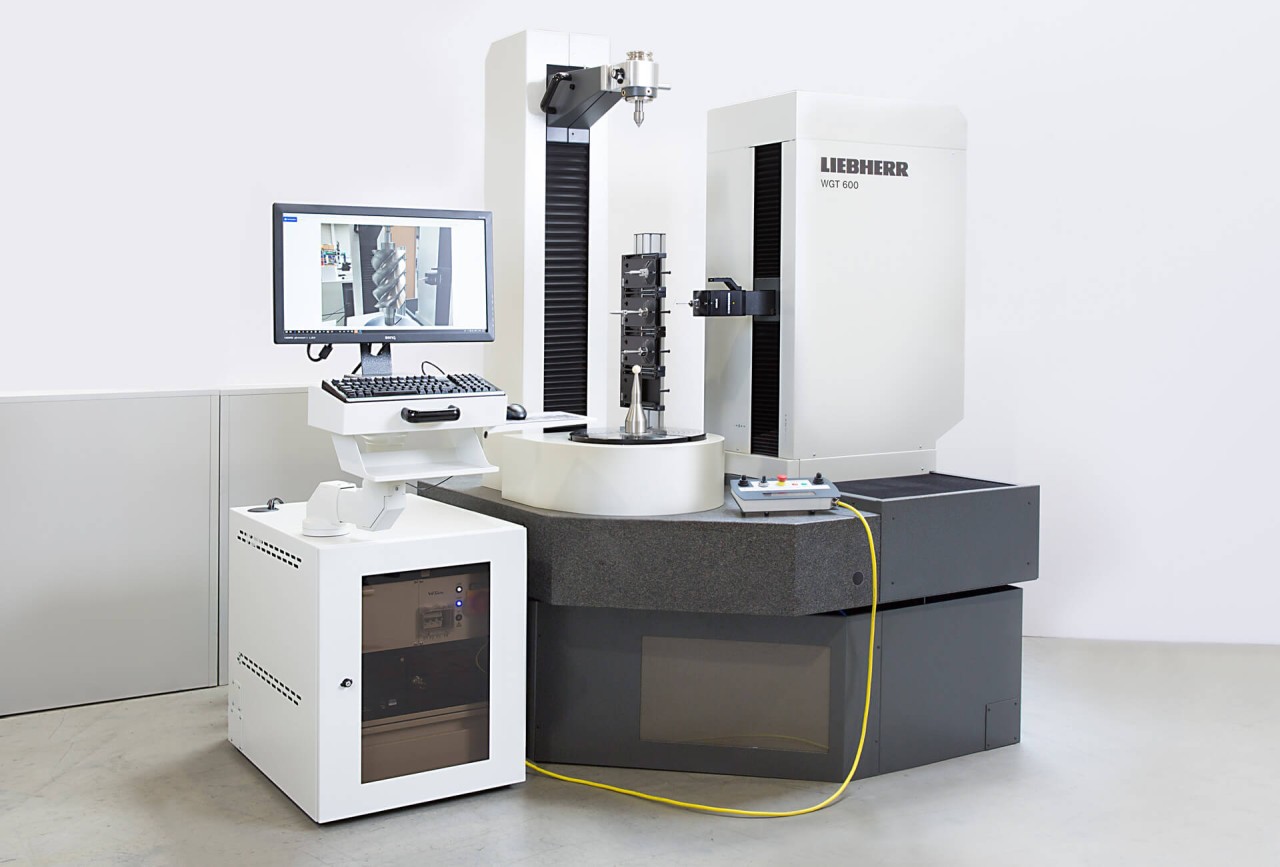
Liebherr offers a range of 5 models in the WGT-product line which can be tailored to exact customer requirements. Each model is accurate to VDI/VDE 2612/2613, Group 1 and can measure gears with module as low as 0.1.

01/04

Portfolio

Other variants on request
Max. Ø [mm]Max. width [mm]Max. table load [kg]
WGT 28028053080
WGT 400400530 / 650180
WGT 600600650 / 800400
WGT 850850 with tailstock
1000 without talstock
1000 / 15003000
WGT 12001200 with tailstock
1400 without tailstock
1000 / 15003000 / 5000
liebherr-measuring-machine-slider2

Design

The baseplate, the linear axis guides and the counterhold are made of hand-lapped granite ensuring identical thermal behavior of the complete measuring system and long term accuracy.

For highest precision, air bearings are used in all linear axes.

High accuracy pneumatic or hydraulic rotary tables with a range of load bearing capabilities are offered, ensuring precise and fast rotary motion of the gear during inspection.

01/02
liebherr-measuring-slider-3

Ultimate Precision and Flexibility

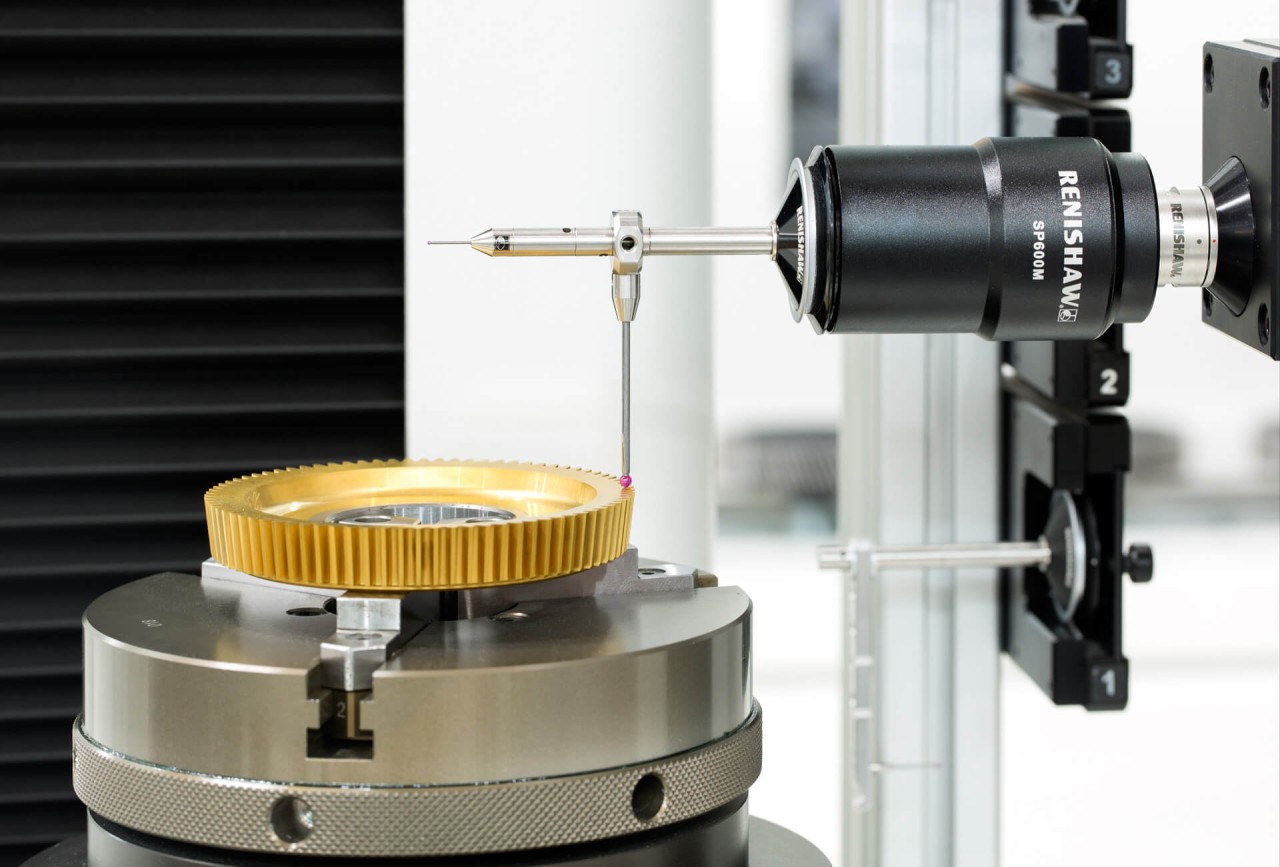
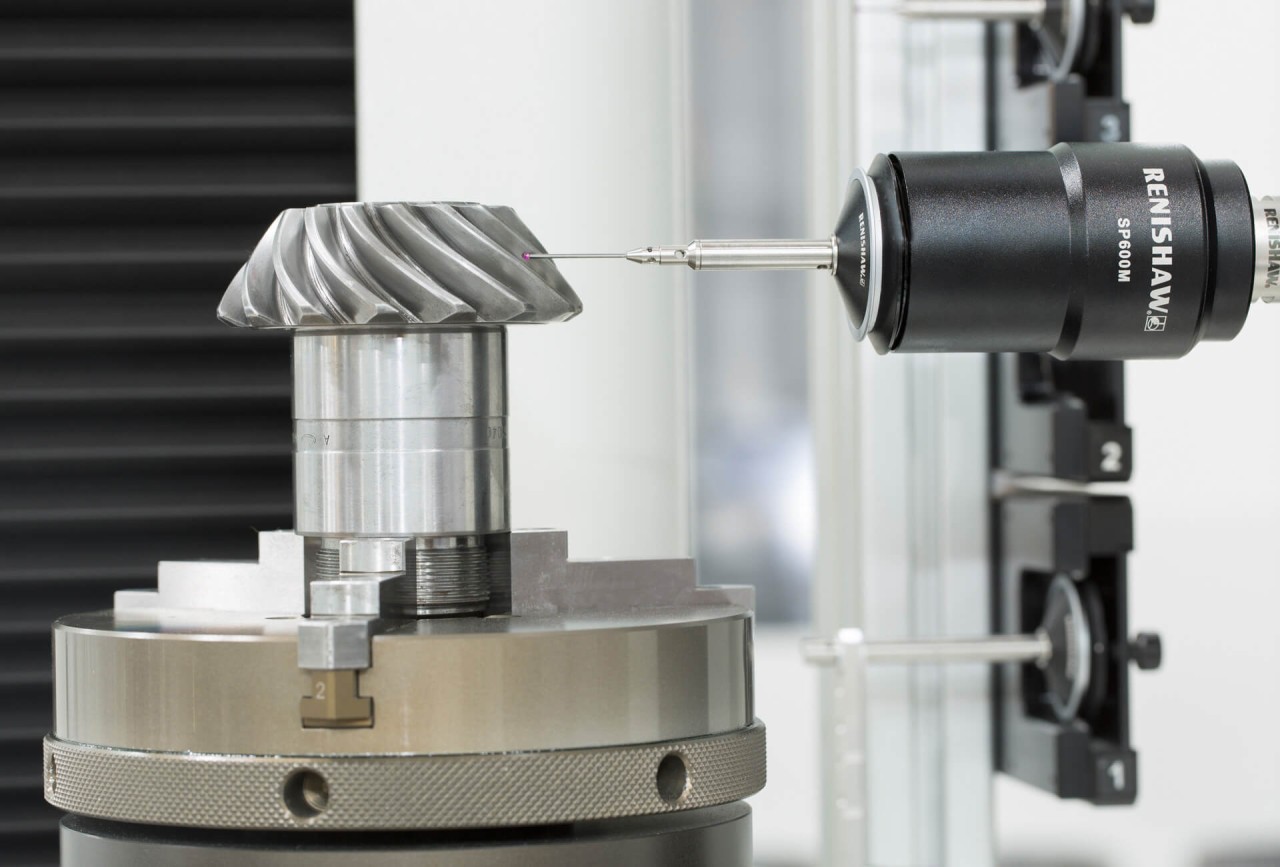
Gears constantly contact and mesh with other gears and most often run very quickly. If gears are not manufactured to the required standard they can wear quickly, fail to deliver the correct power and can even break.

Machines built for gear inspection must perform to a higher specification than the machines used to manufacture them. All WGT machines are accurate to VDI/VDE 2612/2613, Group 1.

WGT machines are applied all around the world for large and small gearboxes and shafts, in the automotive, aerospace, power generation and other important industries.

liebherr-measuring-slider-2-system

System

The WGT machine is not the solution, it is part of it. Our applications team study exact customer needs and configure a system to meet those needs.

These options include increased Z-axis movement and taller counterholds to accommodate longer shafts, different rotary tables to carry the right part weight and a probe changer with the right number of ports to automatically handle the styli needed to support production.

01/02
liebherr-story-measuring-stage

LHInspect gear software

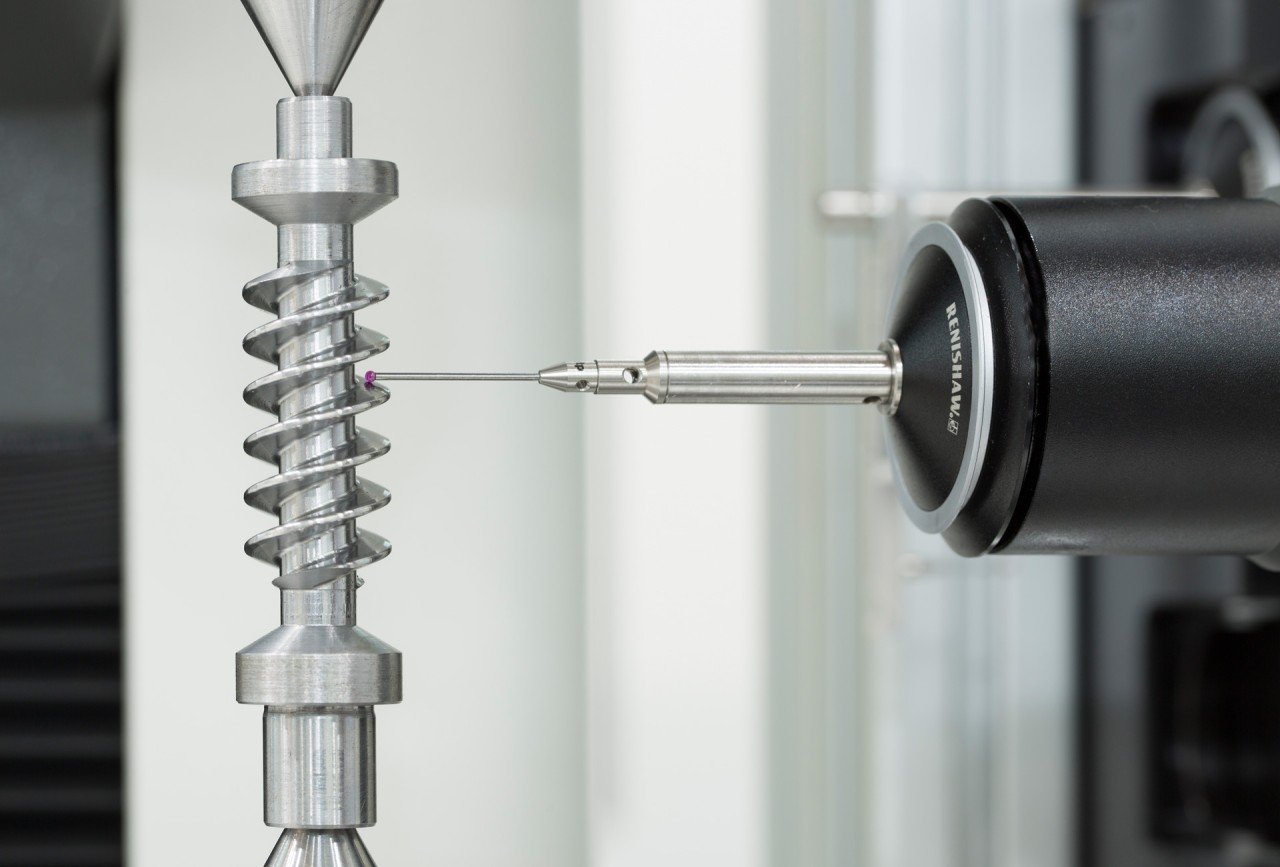
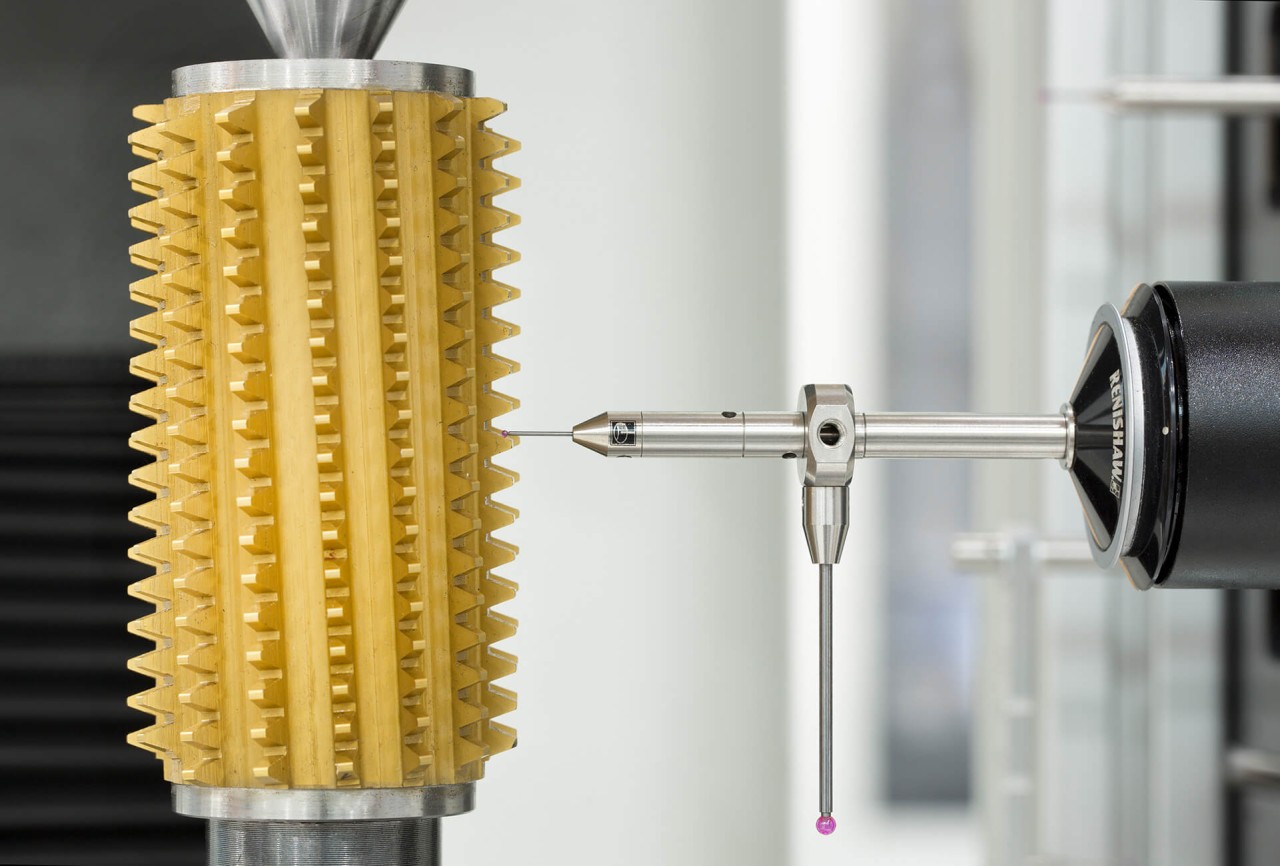
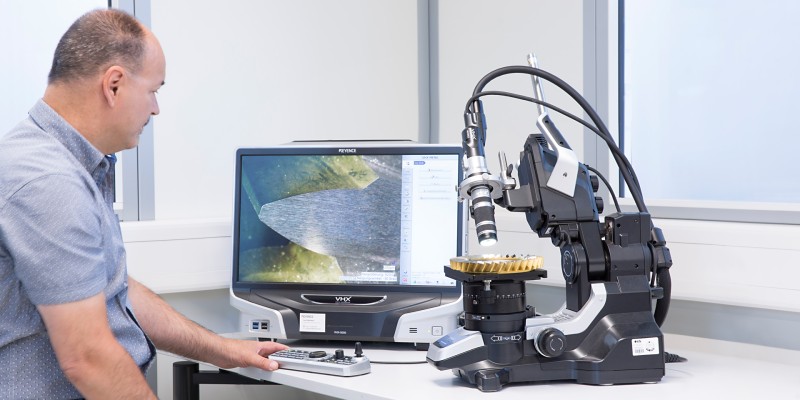
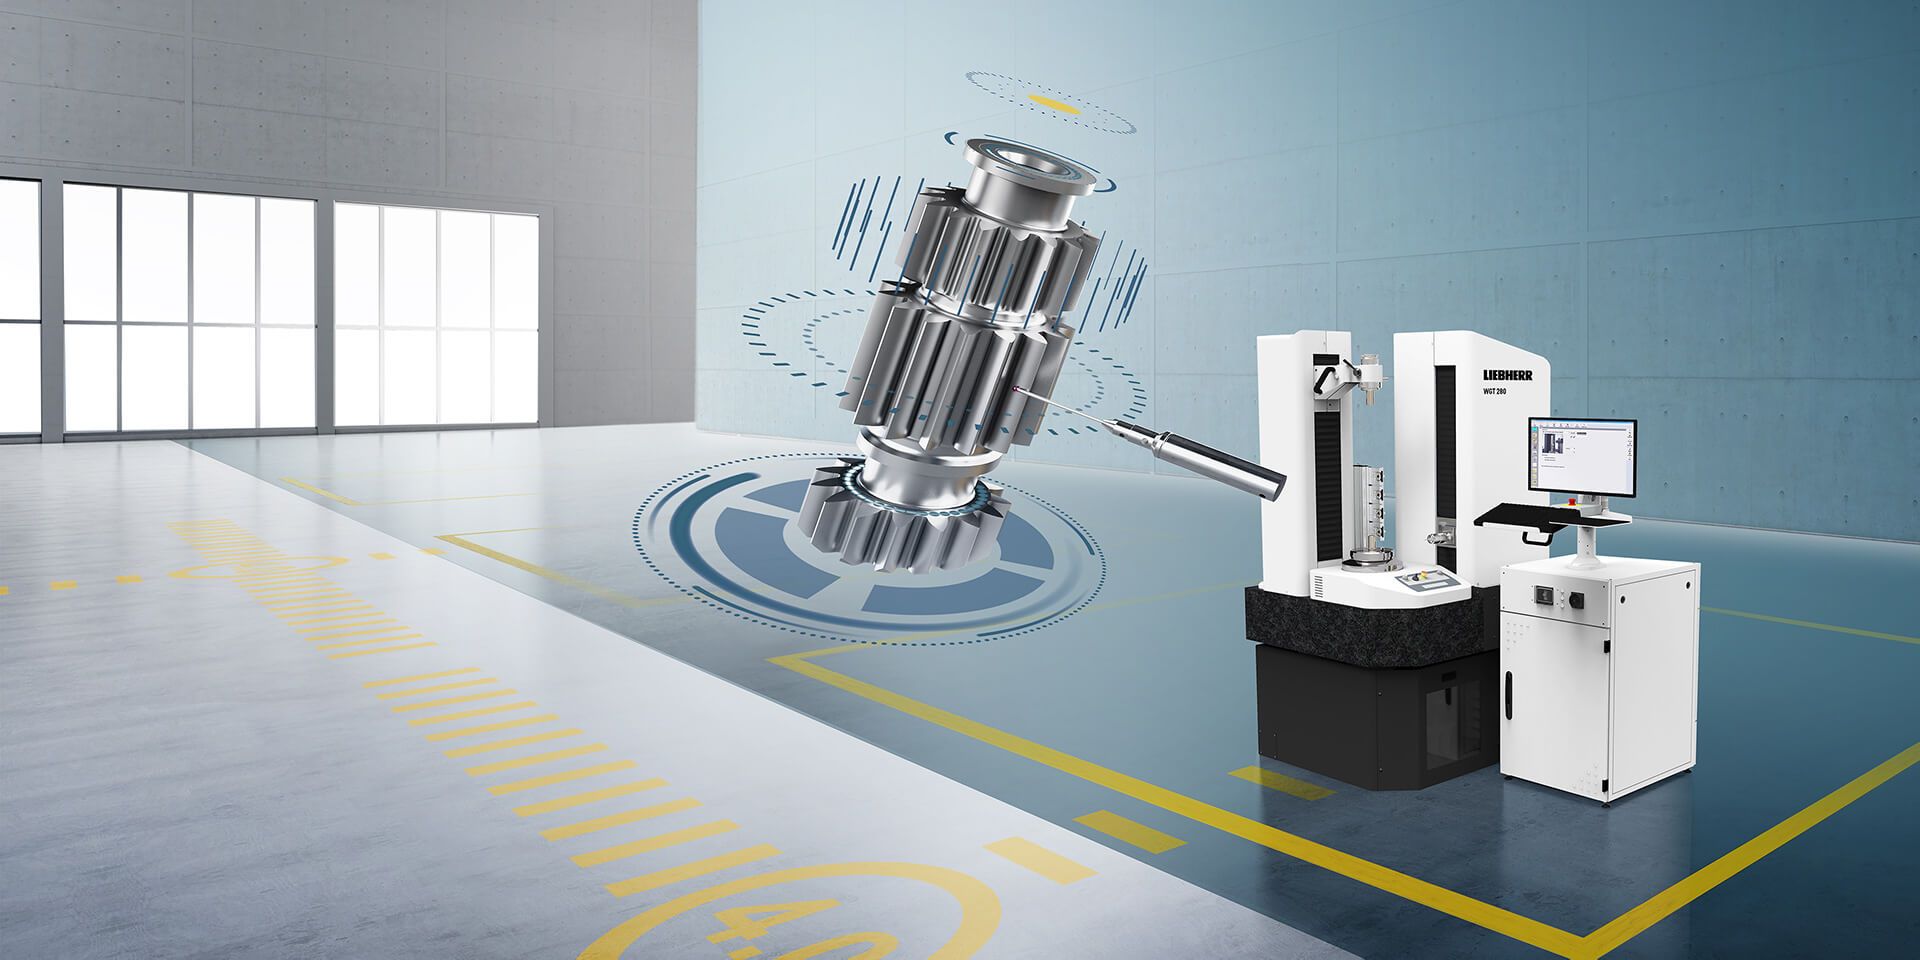
LHInspect is a sophisticated software solution used in combination with the measuring devices of the WGT series for the measurement and inspection of all type of gears, gear cutting tools and shaft-type workpieces, including determination of form and position.

In addition, the software offers the possibility of exchanging geometry and measurement data between gear inspection machines and gear cutting machines, using the seamlessly integrated manufacturer neutral GDE Interface, in order to enable the automated correction of machine parameters.

The WGT gear inspection machines with LHInspect are characterized by their ease of use and user friendliness, which are based on decades of experience in gear measurement technology.

More information on measuring technology

Read interesting articles from our customer magazines and press releases

You might also be interested in