Liebherr optimizes its production method
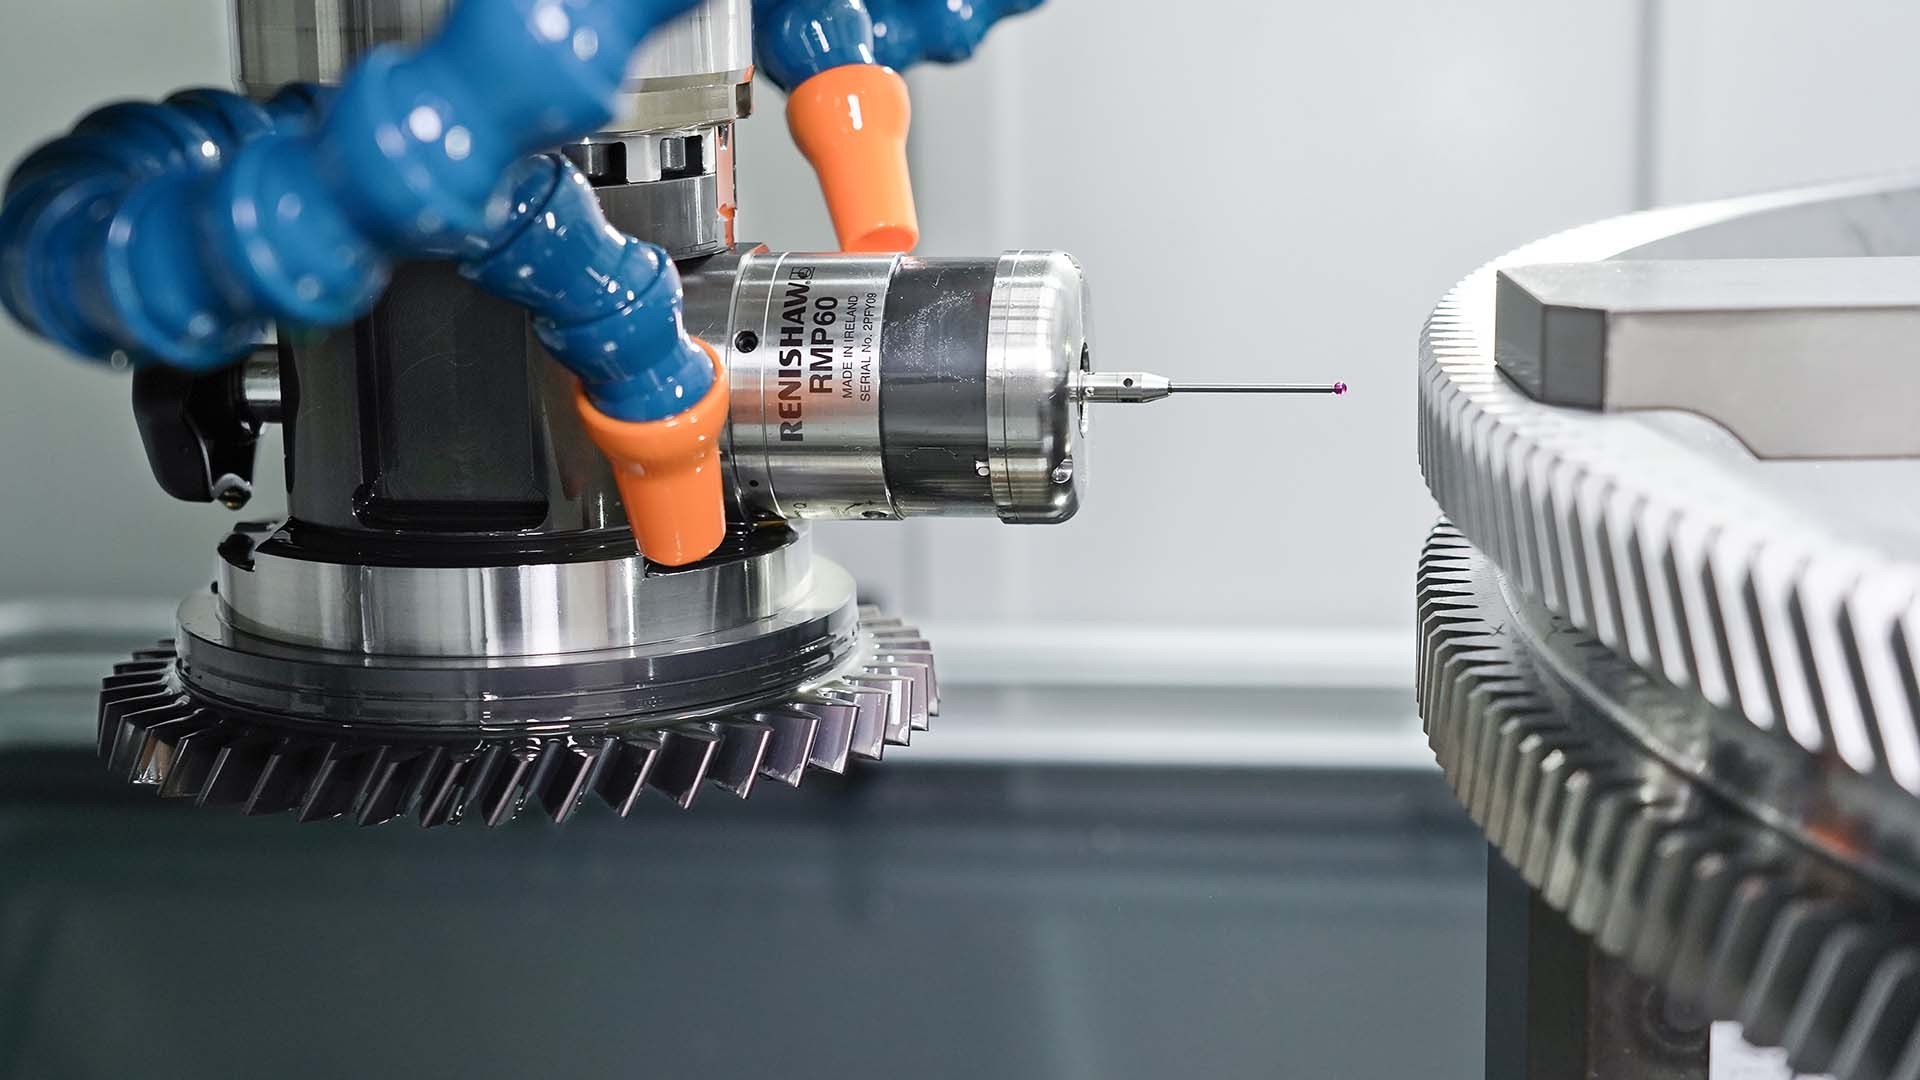
During gear shaping of double helical gears, the exact positioning of both gears in relation to each other is often very work-intensive. Liebherr-Verzahntechnik GmbH has taken up this challenge and is expanding its technology portfolio for the production of double helical gears. An essential component of the coordinated concept of machine, tool and technology is a measuring probe for corrective measurement in the machine, which ensures precision and process reliability.
Patented by André Citroën around 1900, and still indispensable today in many industries, double helical gears are used in all sorts of sizes in a variety of sectors. From tiny dimensions in the aerospace industry to huge dimensions in energy or conveyance technology, they combine the advantages of spur and helical gears: quiet-running, low-noise and low-wear, with a high gear efficiency and suitable for transferring large forces.
Herringbone and double helical gears
A distinction is made between so-called herringbone and double helical gears. The latter have a gap between the two gears (see images below). The classic production method, particularly for gears with larger dimensions, is planing. However, the long-serving planing machines are no longer built, so there is an increasing tendency to choose alternative production methods such as shaping or – for very large dimensions – 4-axis hobbing (Read more here in “A unique machine – LC 4000 for HMC Gears”).
Double helical gears are easier and cheaper to manufacture than herringbone gears, since the gap between the gears offers space for the tool overrun. The challenge in production here, however, is to align the two gears to each other and position them exactly.
The challenge of precision in production
Depending on the dimensions of the workpieces, double helical gears are produced using two methods. Smaller gears with a low gear width can be produced in one clamping fixture. On the tool holder there are two shaper cutters, which shape the upper gear and up-shape the lower gear or – depending on the width of the gap – shape both gears. In the case of gears with a large gear width, for space reasons it is not only necessary to change the tool but also to turn the workpiece.
In order to align the two gears exactly to each other before the second machining step, their angular position (index) and their axial position have to be determined in an intermediate measurement, in order to manufacture the so-called apex point in the required tolerance. Using conventional measuring technology, this is complex and requires a lot of experience in operation. Inaccuracies can occur due to alignment or handling errors.
Double helical gear
Properties
Double helical gear combines the advantages of spur and helical gears:
– Spur gear: No axial load, low bearing wear, high efficiency
– Helical gear: Quiet-running, low-noise, transfer of large forces
Areas of application
- Aerospace
- Marine und ship-building
- Cement mills, conveyance technology
- Energy technology
- Pumping, pressing, forging technology
Measuring probe improves positional accuracy
A newly developed measuring probe now allows Liebherr-Verzahntechnik GmbH the possibility of precise corrective measurement in the gear shaping machine. The measuring probe sits directly on the tool spindle and is therefore in the same coordinate system as the pinion type cutter itself. This reduces inaccuracies which might arise due to a tool change or turning a workpiece, and leads to considerably higher quality and process reliability. In combination with the NC-controlled axes of the shaping machine, a measuring accuracy of a few micrometers is achieved. At the same time, the time and handling work when aligning the two gears to each other are reduced. User-friendly software guides you through all the process steps of the application.
Process steps
01
Shaping the upper gear
02
Cutter exchange and installation of the measuring probe
03
Measuring the position of gear and tooth space
04
Removal of the measuring probe and roughing the lower gear
05
Re-installation of the measuring probe and checking the positioning, with correction if necessary
06
Removal of the measuring probe and finishing the lower gear to the finish dimension
Process reliability and economic efficiency
“The corrective measurement is part of a concept consisting of machine, tool and technology, which expands and optimizes Liebherr’s technology portfolio for the production of double helical gears,” says Dr. Andreas Mehr, an expert on gear shaping at Liebherr-Verzahntechnik GmbH, summarizing the development. “All components, including the tool holder and shaper cutter, are optimally coordinated with one another,” he continues, adding: “By the way, the software and tool holder can also be easily retrofitted on an existing machine.”
The gear shaping machines are equipped with powerful shaping heads for stroke lengths between 70 and 240 millimeters, which are equipped with an electronic helical guide. This allows the helix angle of the workpiece to be easily programmed into the controls system. The reduction of measurement inaccuracies and manual process steps makes the production process more economical, as shown by the following application example of a Liebherr shaping machine with electronic helical guide used by an American job shop.
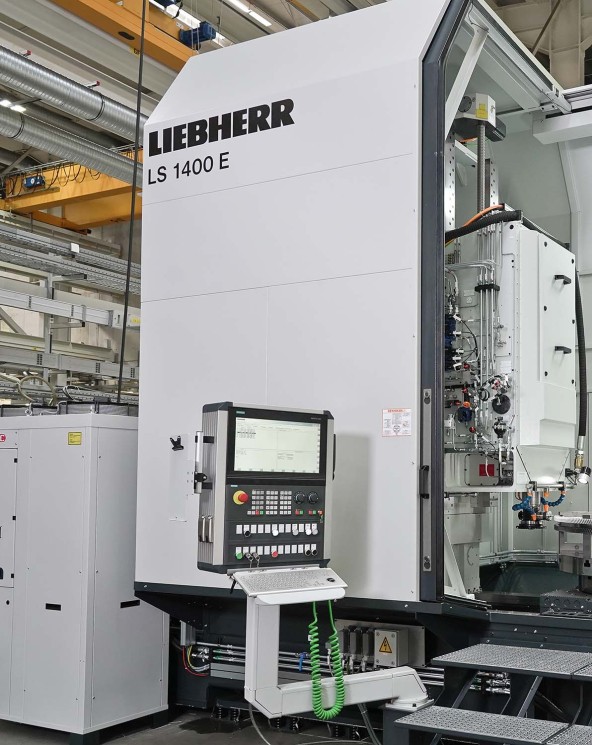
The LS 1400 E has significantly reduced our machining time for double-helical gears.

Machining time reduced, quality increased
A LS 1400 E has been in use at Cincinnati Gearing Systems Inc. (CGS) in Ohio since the beginning of the year. CGS is a recognized leader in precision component gearing manufacturing and design engineering and is a founding member of the American Gear Manufacturer’s Association (AGMA), the US standards organization for gears.
More than just a gear manufacturer, CGS offers customers over 100 years of experience in producing high-quality, reliable, and cost-effective component gearing and enclosed drive gear units for a wide range of power transmission applications automotive drive gearing, diesel engine gearing, military and commercial marine propulsion, turbine-powered generator drives, wind energy, pump drives, and expander/compressor drives.
“Thanks to Liebherr’s CNC shaping machine, we have been able to significantly reduce the machining time for double-helical gears. This machine doubled our previous cutting speeds”, reports Alex Rye, Head of Production at CGS. “The correction measurement in the machine substantially increases the quality of the gear. And thanks to the electronic helical guide, we are able to shape every helix angle without the need for additional tooling.”


