Quality is measurable: every micron counts
Close to production, with high cleanliness and air conditioning standards: The two new measuring rooms of Liebherr-Verzahntechnik GmbH at the Ettlingen site are used for quality control during the production of Liebherr gear cutting tools and for contract manufacturing.
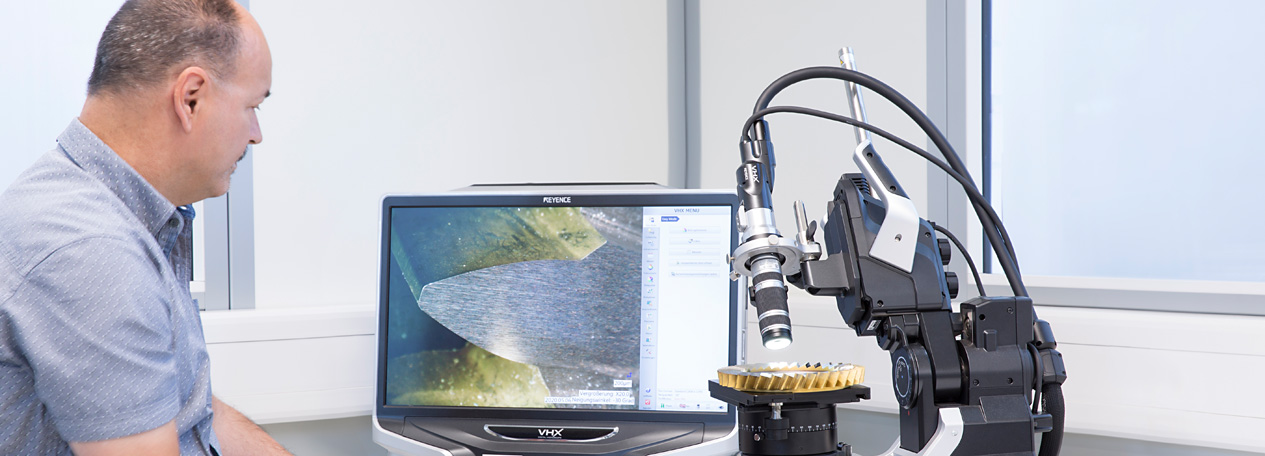
In fact, they are not traditional measuring rooms, but two bright, modern measuring cabins, located within the production plant at the Ettlingen site. This is the new home of the latest measuring technology from Liebherr. Constant temperatures, air quality and optimal lighting conditions offer the perfect environment for the measuring instruments and for the four quality assurance staff to carry out their daily tasks. When manufacturing the gear cutting tools, they make sure that the highest standards (up to grade AAA) are also met. The same standard also applies to the various gears manufactured under contract on Liebherr gear cutting machines.
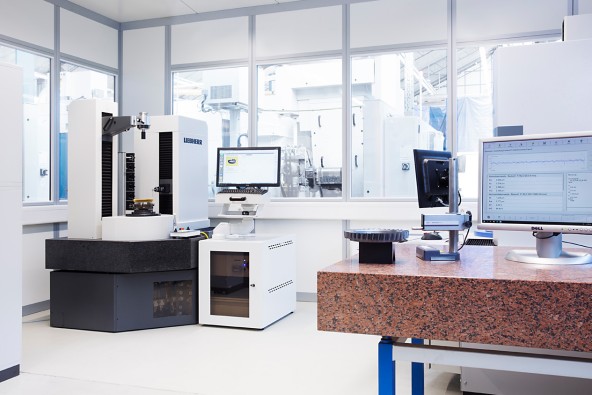
Measuring cabin with state-of-the-art equipment
Production and measuring technology are closely meshed
“With the facilities in the new measuring rooms and various updates to our measuring equipment, we have raised quality control for our customers to a new level,” says Uwe Leimenstoll, Team Leader for Quality Control at Liebherr. “You could say we get right down to the very last micron to extend our lead with our premium products.”
This also applies when manufacturing the profile grinding discs, where the measuring system is connected to the production machine. The machines constantly exchange data, comparing the target parameters to the actual values. If the inspection machine detects a tolerance deviation, an automatic correction is immediately made on the production machine. The profile grinding disc is then completely machined with the corrected values.
The interface is also compatible with other measuring devices – a step towards an open connection with “LHOpenConnect” (more information here). The documentation of the measurement results is complete and transparent: the results for the func-tionally relevant dimensions are logged and the measurement and inspection records can be made available to the customer if required.
High standards in the equipment of the measuring rooms
- One measuring cabin for each application: gear cutting tools and contract manufacturing
- Size: 60 and 55 square meters
- Equipped with Liebherr WGT 400
- Four measurement technicians in two-shift operation
- Measurements are carried out according to VDI guidelines including VDI / VDE 2612 and 2613, Group 1
- Possible dimensions: tools from module 0.18 to module 16 and an outside diameter of four up to 300 millimeters
- Continuous optimization of the quality standard using the 5S method (sort, set in order, shine, standardize, sustain)
Expertise in every detail
Alongside automation, the expertise of Liebherr’s measurement technicians and workers also plays a key role in the manufacturing of tools and gears. Because the geometries and dimensions of the parts from contract manufacturing vary widely and are sometimes very delicate, every detail is crucial: “We manufacture our tools according to the needs of our customers. This requires so much experience that it’s not easy to automate certain processes,” explains Uwe Leimenstoll. The new measuring rooms in Ettlingen are exactly the right environment for the interaction between production, measuring instruments and specialist personnel.

