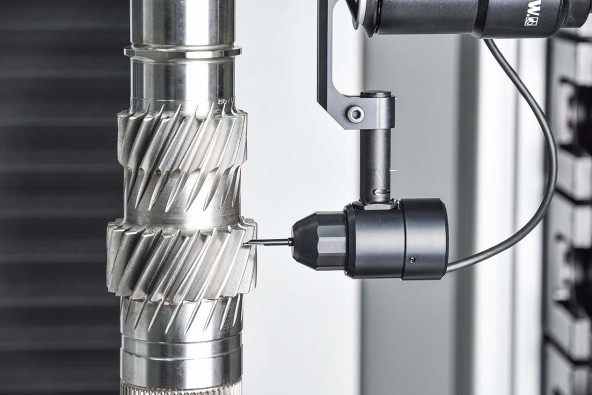
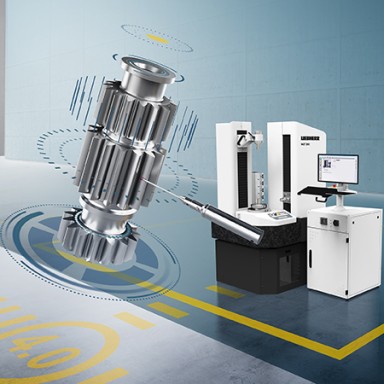
Liebherr’s WGT series of gear inspection machines have already proven their value in many sectors including in gear manufacturing in vehicle construction, in the aviation sector and in general engineering. Every model fulfils the strict specifications of VDI/VDE 2612/2613, Group 1 and measures gears upwards from a 0.1 mm module. Lapped granite guides ensure the thermal profile is uniform. Linear axes with air bearings, precision rotary tables and reliable Renishaw probe systems with tactile probes ensure the machine is mechanically accurate. Automatic correction of adjustment data is based on LHInspect, the user-friendly gear measurement software.

New roughness sensor provides uninterrupted measurement
Optimised WGTs measure waviness and roughness
In e-mobility, quality requirements for gear surfaces are particularly high. Especially important in this is accurately measuring roughness and waviness. A roughness value which is as low as possible is an important parameter in power transmission and smooth running of gearboxes. Waviness plays an essential role in controlling noise emissions and is vitally important for almost silent electric motors. Measuring waviness exactly is a must in manufacturing gears for e-gearboxes. Liebherr-Verzahntechnik GmbH have further developed the WGT sensor system and the LHInspect software especially for these requirements. A new roughness sensor registers the microstructure of the gear surface even more precisely. The software analyses roughness as well as waviness and the waviness values can even be evaluated retrospectively without additional effort. Liebherr is one of only a few providers globally to offer these extensive functions.
New roughness sensor with automatic stylus change
The roughness sensor has been further optimised to detect an even smaller boundary point. An automatic stylus change rack ensures uninterrupted measurement of the workpieces in one step. This means the measurement is not just very precise, but also efficient and user-friendly. The WGT guarantees a high reproductive accuracy up to 1.2 µ and, with the environmental temperature appropriately monitored, can even reach a greater precision value still.
WGTs in e-vehicle production
These features were, for example, a decisive factor in a big manufacturer of e-vehicles in China placing a large order for multiple WGTs. The client has used WGT gear inspection machines for many years and so had a lot of confidence in the quality of the further developed WGTs. In all, 16 of the high-precision measuring instruments are being used at various sites – and most of them are fitted with the new roughness sensors. The first of these instruments have already been delivered and are in operation.
Trust through long lasting collaboration
“Our experienced service technicians in China have been performing installation, acceptance and maintenance of, as well as training around, WGTs on site for years. This is, of course, something our client values highly”, says Yan Kong, Product Manager for Gear Inspection Machines at Liebherr (China) Co., Ltd. in Shanghai. “They know that we will always respond quickly.” And in the unlikely event a problem cannot be solved on site, the client can rely on the remote support at the Kempten and Ettlingen sites. “We can access the machines directly from these sites. We are also very flexible and are always mindful of the different time zones”, assures Matthias Brüderle, Product Manager for Gear Inspection Machines at Liebherr-Verzahntechnik GmbH in Ettlingen.


