Two become one
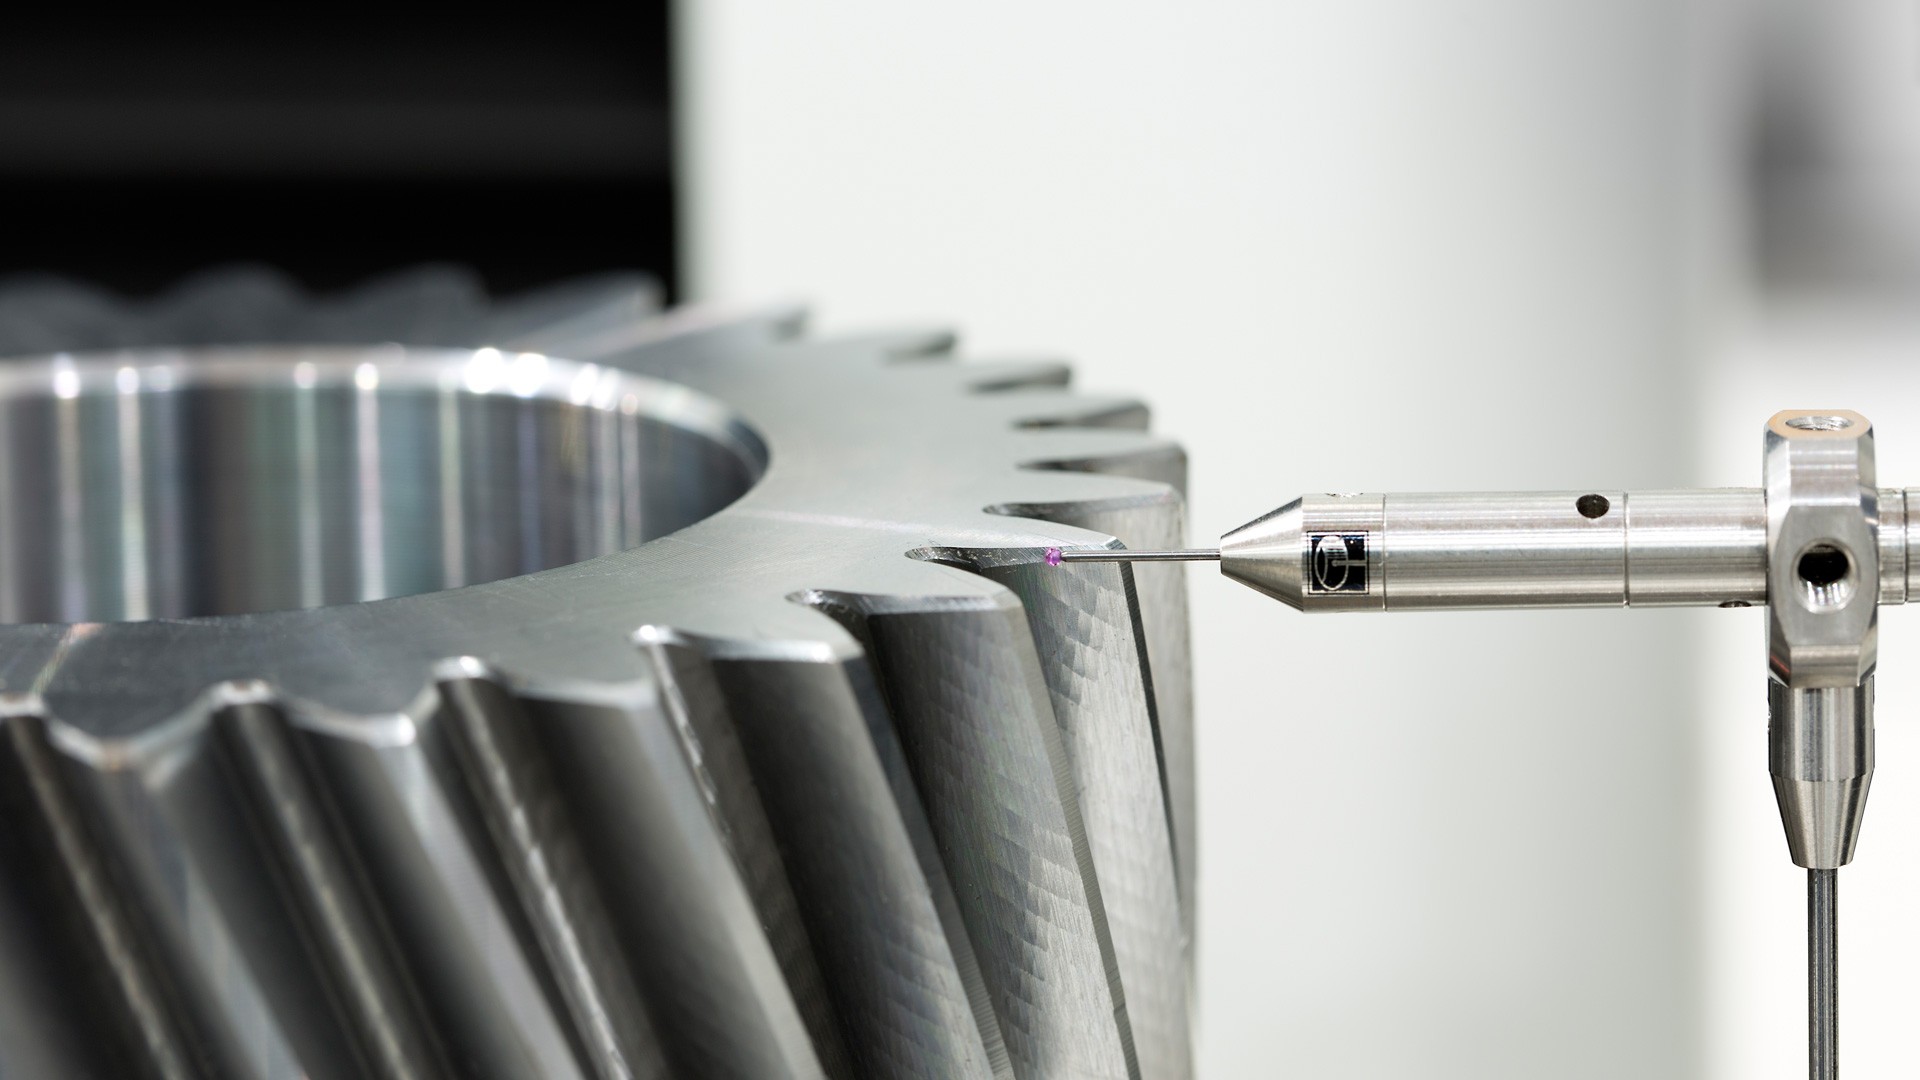
Liebherr-Verzahntechnik GmbH has refined its inspection software for gears and combined two steps into one: Chamfer measurement is now integrated into gear measurement. Initial default evaluation ranges ensure process reliability and maximum precision of the measurement results. In addition, the simplified data input and improved layout representation of the measuring protocol ensure usability.
Gears and chamfers were previously measured in two steps using different measurement software modules: First, the entire face width of a gear was captured by continuous scanning. Based on this, the operator then manually defined in the measurement software module the evaluation limits for the chamfer, which was subsequently measured in a further step. This was problematic because, on the one hand, specific areas could only be unaccuratly defined: The evaluation limits and the number of detected points for the chamfer within these set limits were theoretically calculated and not actually measured on the chamfer. Potential position deviations of the actual chamfer could not always be exactly determined. In addition, manual, user-dependent data input was time-consuming and could falsify the measurement results.
New: automated chamfer measurement
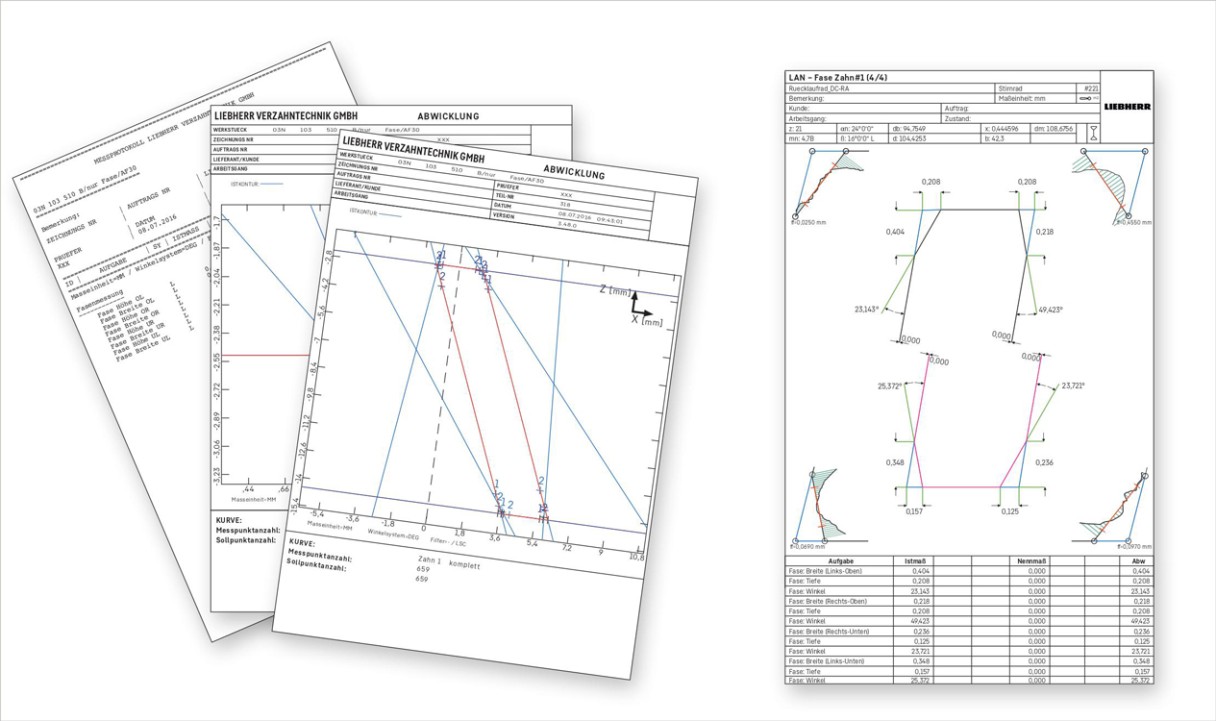
Clear measuring protocol (r.) compared with before (l.)
Liebherr has now succeeded in integrating chamfer measurement into the standard gear inspection software. The determination of the evaluation ranges and the definition of points to be scanned are now automated. This means that the measurement and evaluation parameters only have to be entered once at the beginning, while the determining of the evaluation ranges for the chamfer and the definition of the points to be scanned are carried out automatically. “The software detects where the chamfer begins and measures the actual chamfer”, explains Matthias Brüderle, Product Manager for Gear Measuring Machines at Liebherr. “This results in a high repeatability, and therefore even more precise measuring results.”
Simple and clear
Liebherr’s measurement software has always been user friendly. With this development, data input and output has been optimized and simplified, specifically for chamfer measurement: Each chamfer can be exactly defined with the numerical input of the evaluation limits. For both a single chamfer and for all four chamfers on a gear tooth, the nominal values for chamfer width, depth and angle can thus be input and scanned during the first measurement. In addition, the operator can set parameters such as the stock for grinding or the number of gear teeth to be measured. The output of the measurement results was modified to include the chamfer measurement. The inspection protocol is easy to read and is displayed in graphic and tabular form (see image above).
Increasing demands on the measuring technology
The requirements for gears with regard to power density, gear efficiency, service life and noise emissions are continually rising in all application areas for gearboxes. Particularly for applications in e-mobility, gear measurement technology is an important component of quality assurance and production process control. With the automation of chamfer measurement, Liebherr is therefore taking a logical step which will ensure the highest accuracy and high process reliability with simplified and time-saving operation.
If the customer has further needs, the software can be individually adapted and updated.
Available separately and as a retrofit
The software that Liebherr has developed in an exclusive cooperation with Metrotek GmbH is installed as a standard on Liebherr’s high-precision WGT measuring machines; these are equipped with Renishaw probe systems, granite guides and air bearing technology. However, the software can also be acquired separately as a basic package with individual extensions – depending on the workpiece – and can be retrofitted at any time. It measures gears from a module of > 0.12. The evaluations comply with common gear norms. Thanks to a manufacturer-neutral GDE interface for the exchange of geometry and measurement data, the setting data can be automatically corrected at the gear cutting machines. If solutions are required which go beyond the standard, Liebherr is available as an experienced development partner. “If the customer has further needs, the software can be individually adapted and updated”, says Matthias Brüderle.


